
How to Expand a House: A Step-by-Step Guide to Adding More Space
Expanding a house means adding livable square footage to your existing home, whether by building out, building up, digging down, or converting unused space. The process typically takes three to six months and costs between $80 and $300 per square foot in 2026, depending on the type of addition and your local market. Most homeowners choose this path because moving is expensive and emotionally taxing, and a well-planned expansion lets you create exactly the space you need while staying in a neighborhood you love.
The journey starts with understanding your options. You can extend your footprint with a ground-level addition, stack a second story on top of your existing structure, finish a basement or attic, or bump out a single room. Each approach carries different costs, timelines, and permitting requirements, but they all share a common roadmap: assess your property and local zoning rules, hire a licensed architect or designer, secure permits, hire vetted contractors, and manage construction through to final inspection.
What separates a smooth expansion from a nightmare is planning. You need to know your budget ceiling before you fall in love with a design, understand setback rules and lot coverage limits in your municipality, and work with certified professionals who can navigate structural engineering, electrical codes, and moisture barriers. This guide walks you through every decision point, from choosing the right type of expansion to selecting finishes, so you can add space with confidence and avoid the costly mistakes that derail projects. Whether you’re adding a primary suite, a home office, or room for a growing family, the steps ahead will help you turn square footage into the home you’ve been imagining.
Understanding Your Expansion Options
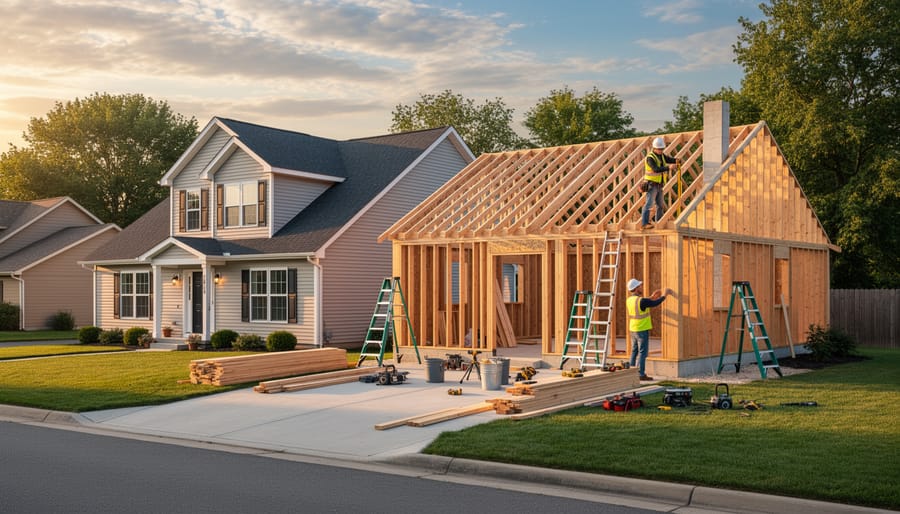
When you’re ready to expand your house, you have three main directions to consider: up, out, or down. Each approach offers distinct advantages and comes with its own set of challenges, so understanding your options helps you choose the path that fits your property, budget, and goals.
- Building up adds a second story or dormer, maximizing space without sacrificing yard area, ideal for smaller lots.
- Building out extends your footprint with room additions or bump-outs, offering easier construction and lower costs in many cases.
- Building down converts your basement into finished living space, leveraging existing square footage at a fraction of new construction costs.
Building up works best when your lot size is limited but your home’s foundation and framing can support additional weight. A full second story can double your living space, while dormers add headroom and natural light to an attic without a complete structural overhaul. The trade-off? You’ll need a thorough structural assessment, temporary living arrangements during construction, and a bigger budget to reinforce load-bearing elements and install new stairs. This option shines in urban areas where land is scarce and vertical expansion makes financial sense.
Building out is often the most straightforward choice. You can add a master suite, enlarge your kitchen, or create a sunroom that opens to your backyard. Bump-outs, small extensions of just a few feet, can transform a cramped bathroom or galley kitchen without major foundation work. The constraints here are lot coverage limits, setback requirements, and available yard space. If you value outdoor living or have zoning restrictions, building out may reduce your options.
Building down transforms an unfinished basement into bedrooms, a home office, or a rec room. This approach requires less permitting drama than structural additions and costs significantly less per square foot. However, you’ll need adequate ceiling height, proper egress windows for bedrooms, moisture control, and solutions for natural light. Basements work well for spaces that don’t need abundant daylight, like media rooms or guest suites.
Consider your lifestyle priorities, lot characteristics, and local codes as you weigh these options. A certified architect can assess your home’s suitability for each direction and help you make a choice that enhances both function and resale value.
What You’ll Need Before You Start
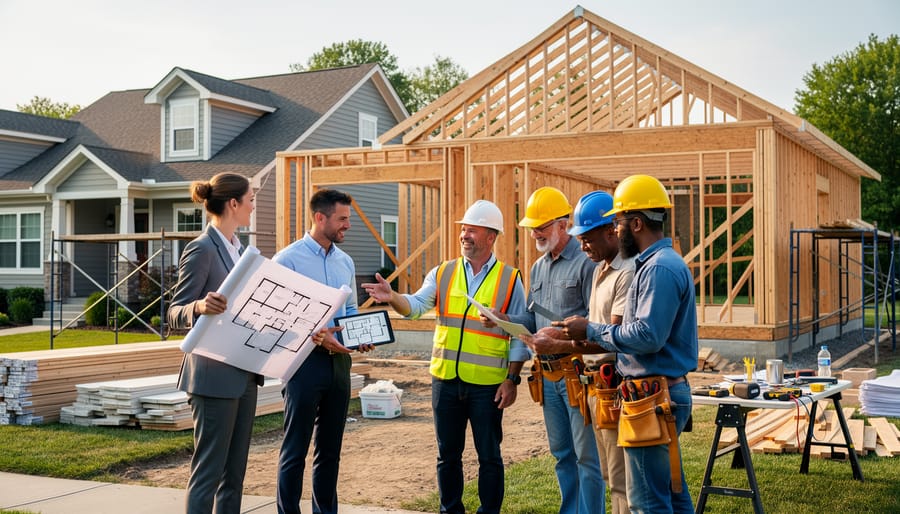
Before breaking ground on your house expansion, assembling the right resources will save you time, money, and stress. Think of this phase as building your expansion toolkit, not just physical materials, but also the professional team and paperwork that make the project legally sound and structurally safe.
Start with your budget. Most homeowners should plan for $100, $300 per square foot depending on complexity and finishes, plus an extra 15-20% contingency for surprises like hidden structural issues or material price fluctuations. This cushion isn’t optional. Get three detailed written estimates from licensed contractors before committing, and never rely on a single verbal quote.
Next, you’ll need professional expertise. A certified architect or designer creates the blueprint that guides everything else, they ensure your expansion meets building codes, fits your lot’s constraints, and integrates visually with your existing home. You’ll also want a licensed general contractor who coordinates subcontractors for electrical, plumbing, and HVAC work. Check licenses, insurance, and references. Ask to see photos of completed projects similar to yours.
Permits are non-negotiable. Your contractor can usually handle applications, but you’re ultimately responsible. Expect to submit architectural drawings, site plans, and engineering reports to your local building department. Processing times vary, some jurisdictions approve in two weeks, others take three months. Factor this into your timeline.
As for materials, your contractor orders most supplies, but understanding the basics helps you make informed decisions. Foundation work requires concrete, rebar, and drainage systems. Framing needs dimensional lumber or engineered beams. Exterior materials, siding, roofing shingles, windows, should match your existing home’s style and quality. Insulation, drywall, electrical panels, and plumbing fixtures round out the essentials.
Finally, prepare logistical necessities: a dumpster for debris, protective barriers to shield your landscaping, and temporary access routes for heavy equipment. If your expansion blocks your main entrance, plan alternative pathways.
Certified professionals bring accountability and code expertise you can’t replicate on your own. Cutting corners on planning or hiring unlicensed workers might save money initially, but it risks failed inspections, unsafe construction, and costly do-overs. Invest in getting it right from the start.
Important Safety and Legal Considerations
Before you break ground on any house expansion, understand that permits and structural safety aren’t bureaucratic hurdles, they’re the guardrails that protect your investment and your family. Skipping these steps can result in costly fines, forced demolition of unpermitted work, and serious liability if something goes wrong.
Start by contacting your local building department to understand permit requirements for your project. Most expansions require a building permit, and depending on scope, you may also need electrical, plumbing, and mechanical permits. Zoning regulations dictate how close you can build to property lines (setback requirements), maximum building height, and sometimes even architectural style. If you live in a neighborhood with a homeowners association, you’ll need their approval before submitting to the city, and HOA reviews can add weeks to your timeline.
Safety extends beyond paperwork. Before any demolition, hire a structural engineer to identify load-bearing walls. Removing or altering these without proper support can cause your house to sag or even collapse. Call 811 (the national “Call Before You Dig” hotline) at least 48 hours before excavation to mark underground utility lines, hitting a gas line or electrical conduit is both dangerous and expensive.
Know when to stop and consult an expert. If you encounter unexpected foundation issues, see cracks spreading from new work, notice doors or windows sticking, or uncover wiring or plumbing that doesn’t match your plans, pause construction immediately. Professional inspections at key milestones, foundation, framing, mechanical rough-in, and final, aren’t optional. They verify code compliance and catch problems while they’re still fixable. Unpermitted additions can haunt you years later, tanking your home’s resale value and complicating insurance claims or refinancing.
Step-by-Step: How to Expand Your House
Step 1: Define Your Goals and Budget
Before you contact contractors or architects, sit down and get crystal clear on what you actually need. Are you adding a bedroom for a growing family? Creating a home office to escape the dining table? Expanding your kitchen because you can’t prep dinner without bumping into someone? Write it down. Be specific about square footage, natural light requirements, and how the space will be used daily.
Next, set a realistic budget. Research typical costs in your area, room additions often run $80, $200 per square foot depending on complexity and finishes. Always add a 15-20% contingency for surprises like outdated wiring or hidden structural issues. If your budget feels tight, consult with a designer early. They’ll help you prioritize must-haves over nice-to-haves, potentially phasing the project or finding creative solutions that deliver maximum impact without draining your savings.
Step 2: Hire an Architect or Designer
Working with a certified architect or designer is one of the smartest investments you can make. They’ll translate your wish list into buildable plans that respect structural realities, local codes, and your home’s existing character. Look for someone with experience in residential additions, check portfolios, read reviews, and ask for references. During initial consultations, share your goals, budget, and any inspiration photos. A good designer will challenge ideas that won’t work structurally or aesthetically, propose creative solutions you hadn’t considered, and produce detailed drawings that contractors can bid from accurately. Expect to review several rounds of revisions before finalizing plans. These blueprints become your roadmap and your permit application, so invest the time to get them right.
Step 3: Obtain Permits and Approvals
Once your architect finalizes the plans, submit them to your local building department for review. Include structural drawings, site plans, and any required documentation. If you live in a neighborhood with a homeowners association, submit your designs there as well, they’ll review aesthetics and compliance with community standards. Some municipalities also require approval from historical boards, environmental agencies, or utility companies.
The review process typically takes four to twelve weeks, depending on your location and the complexity of your project. Don’t schedule contractors or order materials until you receive written approval. Starting work without permits risks fines, stop-work orders, and complications when you eventually sell your home. Use this waiting period to finalize contractor agreements and secure financing.
Step 4: Prepare the Site and Protect Your Home
Before construction begins, your contractor will establish a safe work zone. They’ll install temporary fencing around the expansion area to keep debris contained and unauthorized people out. Any nearby plants, trees, or hardscaping worth saving should be covered with tarps or plywood barriers.
Inside, seal off doorways leading to the construction zone using plastic sheeting and painter’s tape. This creates a dust barrier, though expect some infiltration regardless. Cover floors with heavy-duty drop cloths in adjacent rooms.
If your expansion affects existing utilities, your contractor may need to set up temporary power, water, or heating connections. Some projects require portable toilets for workers. Discuss these logistics during your pre-construction meeting so you’re not surprised by a porta-potty appearing in your driveway.
Protect your HVAC system by covering vents near the work area and changing filters more frequently during construction.
Step 5: Build the Foundation or Frame
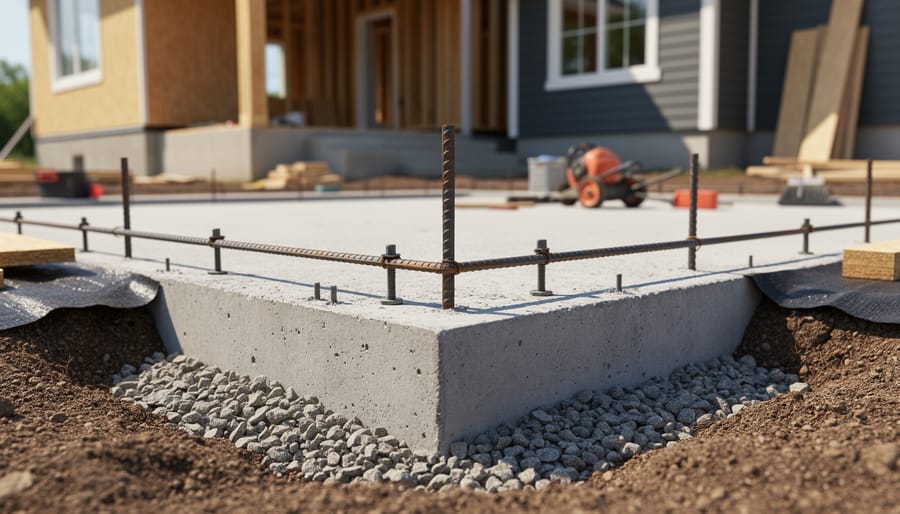
Once permits are approved and the site is ready, construction begins with the structural foundation. For ground-level additions, your contractor will excavate and pour a concrete foundation that matches the depth and specifications of your existing home’s footprint, typically 18 to 24 inches below the frost line in cold climates. In areas with challenging soil conditions, support piers or helical pilings may be installed instead to anchor the addition securely.
For second-story expansions, the focus shifts to reinforcing what’s already there. A structural engineer will assess whether your existing walls, beams, and foundation can handle the additional weight. If not, steel posts or laminated beams are added to redistribute loads safely. Once the foundation or reinforcement is complete, framing begins: walls go up using dimensional lumber per your architectural plans, establishing the skeleton of your new space.
Step 6: Install Roofing, Windows, and Exterior
With the structure framed and inspected, it’s time to seal your expansion from the elements. Start with roofing, extend your existing roof line or install a new section using matching shingles, tiles, or metal panels. Proper flashing where new meets old is critical to prevent leaks. Next, install energy-efficient windows that match your home’s style and size proportions. Finally, apply siding that matches your existing exterior in material, color, and texture. Even if you can’t find an exact match for older siding, a skilled contractor can blend transitions or wrap corners to create visual continuity. This exterior work transforms raw framing into a weathertight, attractive addition.
Step 7: Run Utilities and Install Systems
Once your expansion is weathertight, licensed electricians and plumbers move in to extend power, water, gas lines, and climate control into the new space. This phase unfolds in layers: electricians rough in wiring and outlet boxes, then plumbers install supply and drain lines before walls close up. HVAC technicians size and extend ductwork or add a mini-split system if your existing furnace lacks capacity. Each trade triggers a municipal inspection, rough electrical, rough plumbing, mechanical, before you can proceed to drywall. Don’t rush this stage or skip permits; faulty wiring or leaky pipes hidden behind finished walls cost far more to repair later, and unpermitted work can torpedo a future sale.
Step 8: Finish Interior Walls and Flooring
With utilities in place, you can transform bare framing into finished living space. Start by installing insulation in walls and ceilings, proper insulation keeps energy bills down and improves comfort year-round. Next, hang and finish drywall, taping seams carefully for smooth walls ready to paint.
Choose flooring that complements your existing home. Whether you match hardwood species and stain exactly or intentionally contrast styles, consistency in quality matters more than perfect duplication. Install baseboards, door casings, and crown molding to match adjacent rooms.
Paint walls after trim is installed. Bring paint samples from your current rooms to ensure new colors blend seamlessly. This attention to continuity makes your expansion feel like it was always part of the home, not an obvious add-on.
How to Verify Your Expansion Is Complete and Safe
Once the construction crew packs up, your work isn’t quite finished. A thorough verification process ensures your expansion is safe, legal, and ready to enjoy. Start by scheduling your final building inspection with your local jurisdiction, this is mandatory and will confirm that all work meets code requirements for structure, electrical, plumbing, and fire safety. If the inspector flags issues, address them immediately before requesting a re-inspection. Only after passing can you obtain your certificate of occupancy, the official document proving your new space is habitable and legal to use.
Before you consider the project complete, walk through the expansion with your contractor and architect using a detailed checklist:
- All building inspections passed and certificate of occupancy issued
- Electrical outlets, switches, and fixtures functioning properly with no tripped breakers
- Plumbing tested for leaks, proper drainage, and hot water delivery
- HVAC system heating and cooling the new space evenly
- Windows and doors opening smoothly with proper seals and locks
- Interior finishes complete with no gaps, cracks, or unfinished edges
- All warranties, permits, and construction documentation filed and organized
Test every system yourself: flip switches, run faucets, adjust thermostats, and check that matching door styles align properly with existing hardware. Photograph the completed work from multiple angles, these images are invaluable for insurance updates and future resale. Speaking of insurance, notify your provider immediately about the added square footage and increased home value to ensure adequate coverage. Finally, if you collaborated with designers to design for cohesion throughout the project, now’s the time to furnish and decorate your new space, transforming blueprints into a beautiful, functional part of your home.
Smart Design Tips for a Seamless Expansion
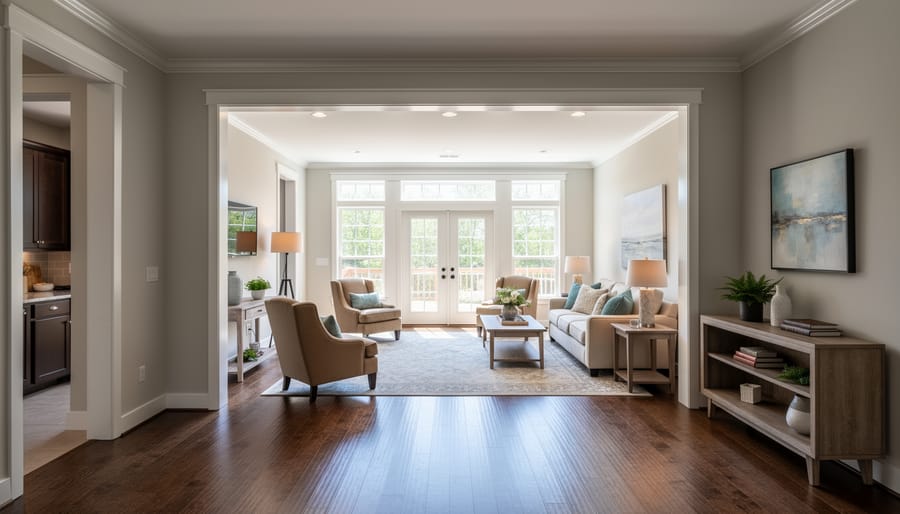
The best expansions feel like they were always part of the house, not tacked on as an afterthought. Start by matching your home’s architectural style, if you live in a Colonial, carry that symmetry and trim detail forward. If you love French Country style echo those soft color palettes and natural textures in the new space. Continuity in rooflines, siding, and window proportions prevents that jarring “addition” look.
Natural light transforms any addition from cramped to inviting. Place windows on multiple walls if possible, and consider skylights in spaces where privacy matters or exterior walls are limited. Avoid the common mistake of undersized or poorly positioned windows, rooms feel dark and disconnected when natural light can’t reach deep into the space.
Traffic flow matters more than you might think. Walk through your current home and notice how people move between rooms. Your expansion should enhance circulation, not create awkward bottlenecks or dead-end spaces. If you’re adding a primary suite, ensure it feels private but still accessible. When you choose interior doors consider swing direction and clearances, a door that blocks a hallway every time it opens is a daily frustration.
Select materials that look better as they age, not worse. Hardwood floors, natural stone, and quality tile withstand decades of use. Avoid trendy finishes that will date the space in five years. Plan ceiling heights to match your existing rooms, a nine-foot addition next to eight-foot ceilings creates an uncomfortable proportion mismatch.
Think ahead to your future needs. That home office might become a nursery, then a teenager’s retreat. Design flexibility into the space with good lighting, adequate outlets, and neutral finishes that adapt as your life changes.
Common Questions About House Expansions
How much does a house expansion typically cost in 2026?
Costs vary widely based on the type of expansion and your location, but expect $150 to $400 per square foot for most projects. A 300-square-foot room addition might run $45,000 to $120,000, while adding a full second story can exceed $200,000. Always budget an extra 15 to 20 percent for unexpected expenses.
How long does a house expansion take from start to finish?
Most expansions take four to eight months, including design, permitting, construction, and inspections. Permit approval alone can consume six to twelve weeks depending on your municipality. Weather delays, material shortages, and inspection schedules can extend timelines, so plan for flexibility.
Do I need to move out during construction?
It depends on the scope of work. Room additions and basement conversions often allow you to stay home, though you’ll deal with noise, dust, and limited access to certain areas. Adding a second story usually requires temporary relocation since your roof and upper structure will be open to the elements.
Can I do any part of the expansion myself?
Demolition, painting, and some finish work are DIY-friendly if you have the skills, but structural framing, foundation work, electrical, plumbing, and roofing require licensed professionals. Attempting complex work yourself can void permits, create safety hazards, and hurt resale value.
Which type of expansion adds the most home value?
Adding a bedroom or bathroom typically delivers the best return, especially in markets where extra bedrooms command premium prices. Finished basements and primary suite additions also perform well. The key is ensuring the expansion feels intentional and matches your home’s overall style and neighborhood standards.
How much will construction disrupt my daily life?
Expect significant noise during framing and demolition, dust throughout your home despite barriers, and restricted access to driveways or yards. Contractors typically work weekdays from 7 a.m. to 5 p.m. Communication with your builder about schedules, cleanup protocols, and milestone dates helps minimize frustration and keeps the project on track.
These answers reflect real-world conditions homeowners face when expanding in 2026. Costs have risen due to labor shortages and material inflation, so getting multiple bids and locking in prices early protects your budget. Timeline expectations should account for municipal backlogs in permit processing, which vary dramatically by region. Some cities approve plans in weeks, while others take months.
If you’re planning to stay in your home during construction, establish clear boundaries with your contractor about work hours, dust containment, and bathroom access. Many families find it helpful to set up a temporary kitchenette in a bedroom or finish the basement first so they have a retreat from the chaos. For second-story additions, seriously consider a short-term rental or staying with family because the disruption is total.
The value question matters most if you plan to sell within five years. An expansion that over-improves your home relative to the neighborhood rarely recovers its full cost. But if this is your forever home, focus on what improves your daily life rather than chasing resale numbers. A sunroom that gets daily use or a home office that eliminates your commute delivers value that spreadsheets miss.
Expanding your home is more than a construction project, it’s an investment in how you live every day. With thoughtful planning, the right professional team, and a clear vision of what you need, adding space to your house is absolutely achievable. You’ve learned the options, understood the process, and discovered the design principles that make an expansion feel like it was always part of your home.
The key is taking that first step. Define what you truly need from the extra space, set a realistic budget, and reach out to a certified architect or designer who can turn your ideas into a workable plan. Don’t rush the planning phase, it’s where you’ll make the decisions that determine whether your expansion becomes a seamless extension of your home or a source of regret.
Remember, permits and professionals exist to protect you and ensure your investment is sound. Working with licensed contractors, getting the right approvals, and following building codes might add time upfront, but they save you from costly mistakes and give you peace of mind.
Your expanded home can genuinely transform your quality of life, whether that means finally having a dedicated office, creating a space for your growing family, or simply breathing easier with more room to move. You have the knowledge now. Trust the process, lean on experts, and get ready to enjoy the home you’ve always wanted.