
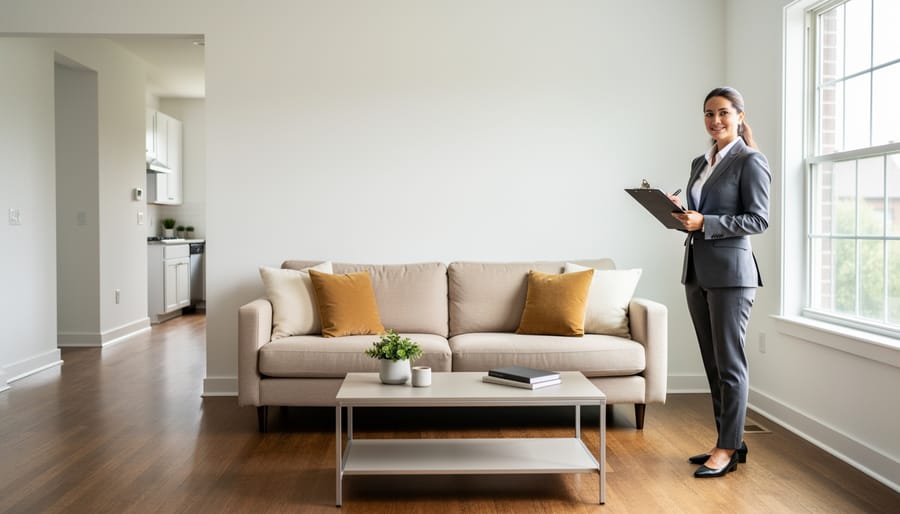
What to Sort Out Before Cash Buyer Views: A Room-by-Room Preparation Guide
Getting a cash buyer through your door is the easy part. The real win comes from presenting a home that justifies a strong offer without sinking time and money into repairs you’ll never recoup. Cash buyers expect speed and as-is purchases, but they also calculate value quickly based on what they see. Your job is to sort through the clutter, address the glaring issues that tank offers, and present the kind of property that makes investors say yes at a better price.
Most homeowners waste energy on the wrong prep work. They repaint feature walls or replace kitchen hardware when cash buyers care far more about access, safety hazards, and accurate information. The key is understanding what actually moves the needle in a cash transaction. You’re not staging for emotional appeal or competing with fully renovated listings. You’re demonstrating that your property is a sound investment with transparent condition reporting and no hidden surprises.
This guide walks you through the exact preparation steps that matter before a cash buyer walks in. We’ll cover which documents to gather, what physical fixes genuinely add value versus cosmetic distractions, and how to verify you’ve hit the mark. Working alongside property professionals who close these deals daily, we’ve distilled this into a focused checklist that respects both your timeline and your budget. Let’s make sure your first impression translates into the offer you deserve.
What You’ll Need to Prepare Before the Viewing
Getting your home ready for a cash buyer viewing doesn’t require an extensive toolkit, but having the right supplies on hand makes the process smoother and more efficient. Cash buyers move quickly, so being prepared means you can address issues immediately rather than scrambling at the last minute.
Start by gathering your cleaning arsenal. You’ll need all-purpose cleaner, glass cleaner, floor polish or cleaner appropriate for your surfaces, and microfiber cloths that won’t leave streaks. Don’t forget bin bags for decluttering, fresh air fresheners (avoid overpowering scents), and cleaning products for bathrooms and kitchens where hygiene is scrutinized most closely.
For minor repairs, assemble a basic toolkit:
- Screwdrivers (flathead and Phillips), hammer, pliers, and adjustable wrench
- Paintbrushes, rollers, and neutral-colored touch-up paint for walls and trim
- Caulk and caulking gun for sealing gaps around tubs, sinks, and windows
- Lightbulbs in various wattages to replace any dim or burnt-out fixtures
- Wood filler, sandpaper, and wall patch compound for cosmetic fixes
- Lubricant spray for squeaky hinges and sticky locks
Documentation is equally important. Companies like Property Saviour UK appreciate sellers who have their paperwork organized, as it speeds up the entire transaction. Gather your property deeds, recent utility bills, council tax statements, warranty information for appliances or recent work, and receipts for any upgrades or repairs completed in the last few years. Create a simple folder or binder where everything is accessible during the viewing, this transparency builds trust and demonstrates you’ve maintained the property responsibly.
Important Considerations Before You Start

Before you dive into preparations, take a step back and set realistic boundaries. Cash buyers typically purchase properties as-is, which means major renovations rarely translate into higher offers. Focus your energy on presentation and minor fixes rather than expensive upgrades like new countertops or flooring, these won’t move the needle on a cash sale and you’ll lose money in the process.
Know your limits when tackling repairs yourself. Electrical work, plumbing beyond basic fixes, and structural issues require licensed professionals. Attempting complex repairs can create safety hazards or make problems worse, potentially reducing your offer. If something needs professional attention, get it assessed, but weigh the cost against the likely impact on your sale price.
Honesty protects you legally and builds trust. Be upfront about known issues like past flooding, roof leaks, or faulty wiring. Most regions have seller disclosures requirements that mandate revealing specific defects. Cash buyers expect transparency and often have their own inspectors, so hidden problems will surface anyway. Documented evidence of past repairs and maintenance records strengthen your credibility.
Simple tasks like a thorough declutter or when you clean your refrigerator make a difference without risk or expense. Concentrate on these safe, high-impact actions that help buyers see your home’s potential.
Step-by-Step: Preparing Your Home for Cash Buyer Success
Step 1: Deep Clean and Declutter Every Room
Start your deep clean in the room that sees the most traffic, the kitchen, then move methodically through bathrooms, living areas, and bedrooms. Cash buyers evaluate cleanliness as a proxy for overall maintenance. A spotless home suggests you’ve cared for systems they can’t see, while grime and clutter raise doubts about hidden problems.
Remove at least a third of your belongings from each room. Pack away personal collections, excess kitchen gadgets, overstuffed bookshelves, and redundant furniture that blocks sightlines. Rent a storage unit if needed, or stack boxes neatly in the garage. The goal is to let buyers focus on square footage and layout rather than your possessions. Research on home staging perception confirms that decluttered spaces help buyers envision their own lives in the property, which translates to faster offers.
Scrub floors, baseboards, and light fixtures until they shine. Clean inside cabinets and closets because buyers will open them. In bathrooms, tackle grout lines, remove soap scum, and consider adding bathroom shelving solutions to organize toiletries if counters look chaotic. Don’t just tidy, deep clean. Wipe down walls, polish mirrors, and vacuum upholstery. The effort signals that the property has been maintained with the same thoroughness throughout.
Step 2: Address Obvious Maintenance Issues
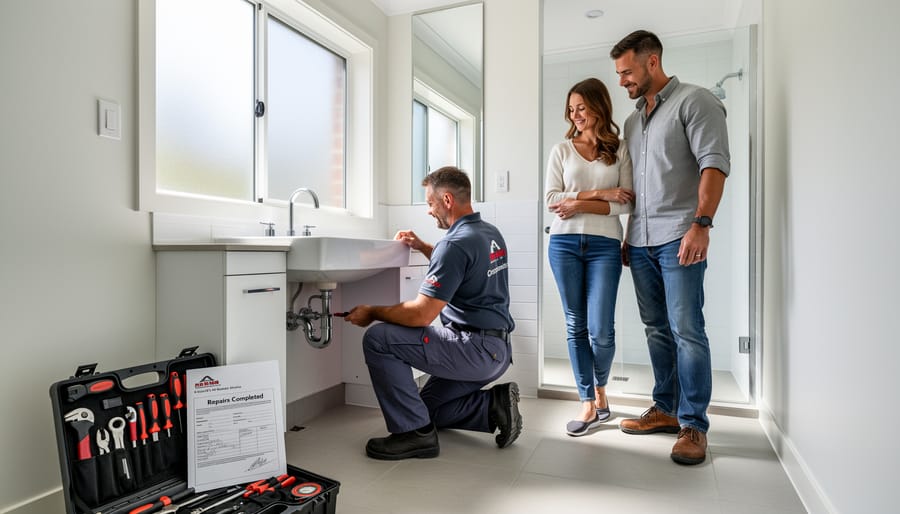
Walk through your home with a buyer’s critical eye and tackle the maintenance issues that scream neglect. Cash buyers are investors, they’ll calculate repair costs against their offer, so fixing visible problems yourself keeps more money in your pocket.
Start with water-related issues. Dripping taps, running toilets and damp patches under sinks are instant red flags suggesting larger plumbing problems. Most leaky faucets need only a replacement washer from the hardware store and twenty minutes with a wrench. If you’ve got persistent leaks or water stains on ceilings, call a plumber, trying to hide these issues will backfire during any inspection.
Broken fixtures make rooms feel neglected. Replace missing door handles, tighten loose cabinet knobs, and swap burned-out bulbs. Cracked tiles in bathrooms or kitchens suggest water damage to buyers, so re-grout loose tiles and replace obviously damaged ones. Peeling paint tells buyers moisture or poor preparation lurks beneath the surface. Scrape loose paint, sand the area smooth, and apply two fresh coats.
Doors and windows that stick or won’t latch properly frustrate buyers and hint at structural settling. Often you can plane down a swollen door edge or adjust strike plates to fix latches. Windows that won’t open fully make buyers worry about ventilation and emergency exits.
For anything involving electrics, flickering lights, dead outlets, exposed wiring, hire a qualified electrician. Same with gas appliances: if you have a wood burner, check log burner vents are clear and functional, but leave gas safety checks to certified professionals. These aren’t areas for DIY experiments when a buyer’s watching.
Step 3: Optimize Curb Appeal and Entry Points

Your property’s exterior is the first thing cash buyers see, and it sets their expectations for everything inside. Even if they’re planning to renovate, a well-maintained entrance signals that you’ve cared for the home.
Start with your front walkway. Sweep away leaves, dirt, and debris, then pressure wash if possible to remove stains and grime. Fill any cracks in concrete or patch uneven pavers, tripping hazards create liability concerns that buyers notice immediately.
Next, tackle your landscaping. Trim overgrown bushes away from windows and the front door, mow the lawn, and pull visible weeds from flower beds. You don’t need a magazine-worthy garden, just tidy greenery that shows ongoing maintenance. If you have dead plants, remove them rather than leaving empty patches.
A front door refresh makes a surprisingly big impact. Clean it thoroughly, polish hardware, and consider a quick coat of paint if it’s faded or chipped. Replace worn weatherstripping and ensure the doorbell works.
Finally, test all outdoor lighting at dusk. Replace burned-out bulbs in porch lights, path lights, and garage fixtures. Functional lighting suggests security and allows evening viewings, giving you scheduling flexibility that speeds up the sale process.
Step 4: Organize and Present Key Property Information
Cash buyers move quickly, and they appreciate sellers who’ve done the homework. Create a simple property information folder before the viewing arrives. This doesn’t need fancy presentation, a clear binder or labeled envelope works perfectly.
Start with basic documents: your property deed, most recent council tax statement, and utility bills from the past quarter. These prove ownership and give buyers realistic running cost figures. If you’ve had any major work done, new boiler, roof repairs, loft conversion, gather those receipts and warranties. They demonstrate proper maintenance and transfer value to the next owner.
Include a one-page property summary listing room dimensions, any planning permissions granted, and the age of major systems like heating and plumbing. Note recent upgrades with dates, even minor ones like new windows or updated electrics. Cash buyers often resell or rent properties, so this timeline helps them assess future maintenance needs.
Add neighborhood information that might not be obvious during a brief viewing: local schools, transport links, upcoming area developments. If your street has residents’ parking or shared amenities, explain how they work.
Having everything organized signals you’re a serious, transparent seller. It builds trust and removes friction from negotiations, often leading to faster offers at better prices.
Step 5: Neutralize and Depersonalize Your Space
Start by removing family photos, children’s artwork, and personal collections from walls and surfaces. Cash buyers evaluate properties as investments, and they need to see the space, not your life story. Pack away religious items, political memorabilia, and hobby displays. These create emotional distance rather than connection.
Next, address bold decor choices. That accent wall in electric blue might suit your taste, but it forces buyers to imagine expensive repainting. If you have vibrant wall colors, consider covering them with neutral tones like warm grey or soft beige. You’re not erasing personality; you’re providing a foundation buyers can build upon.
Remove excess furniture that makes rooms feel cramped. A couch blocking natural pathways, extra dining chairs crowding a corner, or multiple side tables competing for space all shrink a room visually. Store pieces offsite if possible. Buyers should walk through each room freely, immediately grasping its size and function.
Keep a few tasteful elements, a subtle piece of artwork, a well-placed houseplant, or quality window treatments. Complete sterility feels cold and uninviting, which ironically makes properties harder to evaluate. The goal is neutral hospitality: clean, uncluttered, and welcoming without imposing your specific aesthetic on someone trying to envision their own.
Step 6: Ensure Proper Lighting and Ventilation
Walk through your home and flip every light switch. If a room feels dim or cave-like, buyers will mentally subtract value, dark spaces read as smaller, dirtier, and less maintained. Replace any bulbs under 60-watt equivalent with brighter LEDs, especially in kitchens, bathrooms, and hallways where adequate lighting signals cleanliness.
Open all curtains and blinds before the viewing. Natural light transforms spaces, making rooms feel larger and more inviting. If privacy isn’t an issue, leave window treatments open throughout the day. Clean windows inside and out; grimy glass blocks light and suggests neglect.
Stale air is a viewing killer. Open windows an hour before buyers arrive to create cross-ventilation. Check that bathroom and kitchen exhaust fans work properly, run them to clear any lingering cooking or moisture odors. If your home tends to hold smells from pets or cooking, consider a plug-in air purifier running in the background rather than masking odors with strong air fresheners.
Test every light fixture. A single dead bulb in a ceiling fan or closet signals deferred maintenance. For outdated fixtures that buzz or flicker, replacing them costs little but demonstrates electrical systems are current and functional, reassuring cash buyers they won’t face immediate repair costs.
Step 7: Final Walkthrough from a Buyer’s Perspective
Before the cash buyer arrives, walk through your home as if you’re seeing it for the first time. Start at the front door and move slowly through each room, noting first impressions and any jarring details you’ve grown accustomed to.
Test every light switch, faucet, and door handle. Flush toilets, run taps, and check that windows open smoothly. Cash buyers often conduct quick but thorough inspections, and non-functioning basics signal neglect. Listen for unusual sounds like dripping pipes, creaking floors, or humming appliances that might raise concerns.
Pay attention to smells. Pet odors, cooking scents, and mustiness fade into the background for residents but immediately register with visitors. Open windows beforehand and consider using subtle air fresheners or baking soda in problem areas.
Create a simple checklist covering each room’s key elements: cleanliness, lighting, functionality, and appeal. Ask a trusted friend to do the same walkthrough, as fresh eyes catch what you miss. Their honest feedback helps you address final blind spots before the viewing that could affect your offer.
How to Know Your Home Is Viewing-Ready
Your home is viewing-ready when it passes a systematic final check that catches overlooked details before the buyer walks through. Start by walking through each room with fresh eyes, ideally asking a trusted friend or neighbor to join you, they’ll spot things you’ve grown blind to after weeks of preparation.
Use this priority checklist to confirm everything is in order:
- Test every light switch, faucet, and door handle to ensure proper function
- Check for lingering odors in kitchens, bathrooms, and bedrooms (including whether you need to deep clean mattress surfaces that might hold smells)
- Verify all windows open smoothly and locks engage properly
- Confirm floors are clean with no visible stains or scuff marks
- Look for clutter that crept back onto counters or tables
- Review your documentation packet for completeness
Stand at the front entrance and assess your first impression honestly. Does the space feel open, clean, and well-maintained? Walk slowly through each room, pausing to check corners where dust accumulates and behind furniture for forgotten items. Run your hand along surfaces in kitchens and bathrooms to feel for sticky residue that’s hard to see. Open closets and cabinets, buyers will check them.
The ultimate test is whether you’d feel confident showing the property with fifteen minutes’ notice. If you’re hesitating or mentally listing tasks still pending, you’re not quite there yet. A viewing-ready home requires no last-minute scrambling beyond opening curtains and turning on lights.
Common Questions About Preparing for Cash Buyer Viewings
Do cash buyers care about cosmetic issues?
Cash buyers typically focus less on cosmetic details than traditional buyers, but visible care still influences their offer. Clean, well-maintained spaces signal that major systems have likely been looked after too, which can mean better pricing even when they’re buying as-is.
Should I stage the home professionally?
Professional staging usually isn’t necessary for cash sales since these buyers prioritize structure and value over presentation. Your energy is better spent on cleanliness, decluttering, and addressing functional issues rather than decorative staging that won’t significantly move the needle on a cash offer.
How much should I spend on repairs before a cash buyer views?
Stick to low-cost fixes under £200 total, things like tightening loose handles, replacing burned-out bulbs, and patching small holes. Cash buyers don’t expect perfection, so avoid expensive renovations that won’t increase their offer enough to justify the investment.
What if I can’t fix everything before the viewing?
That’s completely fine and actually expected in cash sales. Be upfront about known issues and have documentation ready showing you understand what needs work. Honesty builds trust and helps buyers price their offer accurately rather than padding in extra contingency for unknown problems.
How is preparing for cash buyers different from traditional buyers?
Cash buyers move faster and care more about structural condition and legal clarity than emotional appeal. While traditional buyers might fall in love with styled rooms, cash buyers want quick access to property information, visible proof of basic maintenance, and straightforward transactions without surprises.
Remember that cash buyers are professionals or experienced investors who’ve seen hundreds of properties. They’re not looking for perfection, they’re assessing risk and potential. Your goal isn’t to hide flaws or create an illusion of a pristine home. Instead, you’re demonstrating that the property has been reasonably cared for and that you’re a straightforward seller who won’t complicate the process. A clean, organized, transparent presentation often matters more than cosmetic perfection in securing a fair cash offer quickly.